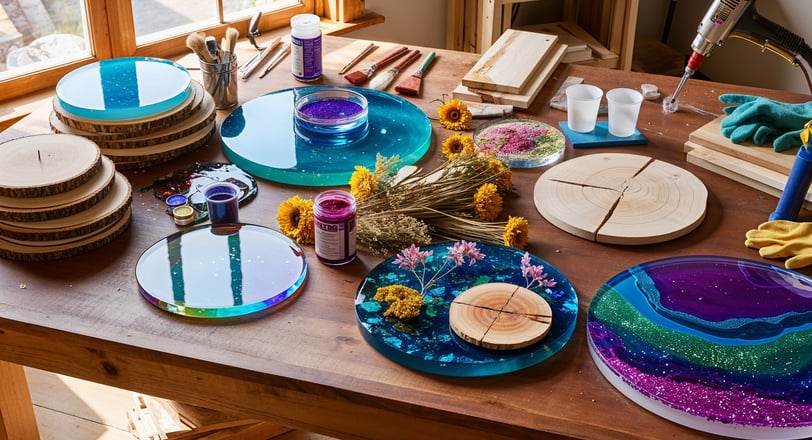

Are you looking forward to the fascinating world of resin and wood crafting?
Are you trying to find stunning DIY projects that combine the charm of wood with the mesmerizing effect of resin? If yes, you’ve clicked on the right guide!
This tutorial is perfect for beginners who want to explore how wood crafting can be enhanced with resin—whether it’s furniture or simple coasters. Resin and wood crafting is an accessible art that allows you to create beautiful and functional items, regardless of your experience.
Follow this guide for 25 easy, step-by-step DIY projects, learn the necessary tools and techniques, and get started on creating masterpieces. Let’s dive in!
Key Takeaways
Discover key tips and tricks for working with wood and resin, from simple trays to artistic pieces.
Learn proper handling and safety measures to ensure your work is professional and productive.
Explore 25 beginner-friendly projects as your entry point into resin crafting.
Understand the tools and supplies you need to kickstart your resin and wood projects seamlessly.
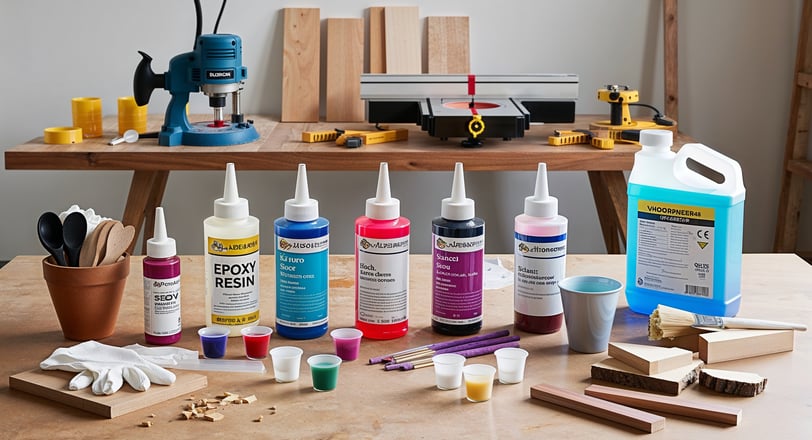
Essential Materials and Tools
Basic Materials Needed
Epoxy Resin and Hardener: Use high-clarity resin compatible with wood.
Wood: Choose dried, smooth wood like Oak, Maple, or Walnut.
Mixing Cup and Stir Sticks: For precise resin mixing.
Synthetic Gloves and Mask: Safety first! Protect yourself while crafting.
Drop Cloth or Plastic Sheeting: To prevent resin spills.
Sandpaper: Various grits (e.g., 120, 220) for a smooth wood finish.
Wood Sealer or Primer: Prevent air bubbles in resin.
Colorants or Pigments: Add colors for creative flair.
Decorative Elements: Use glitter, dried flowers, or metallic foil to enhance your designs.
Additional Tools
Heat Gun or Torch: Remove air bubbles for a flawless resin finish.
Level and Measuring Tools: Ensure even resin pouring.
Clamps: Hold wooden pieces steady during resin curing.
Orbital Sander: Achieve consistent sanding.
Sharp Cutting Tools: For intricate wood designs.
Timer: Track resin curing times accurately.
Ventilation System: Maintain airflow for a safe working environment.


Preparation and Safety
Workspace: Keep your area uncluttered and well-ventilated.
Protective Gear: Use gloves, safety goggles, and a respirator.
Resin Instructions: Always follow product guidelines for mixing ratios and application.
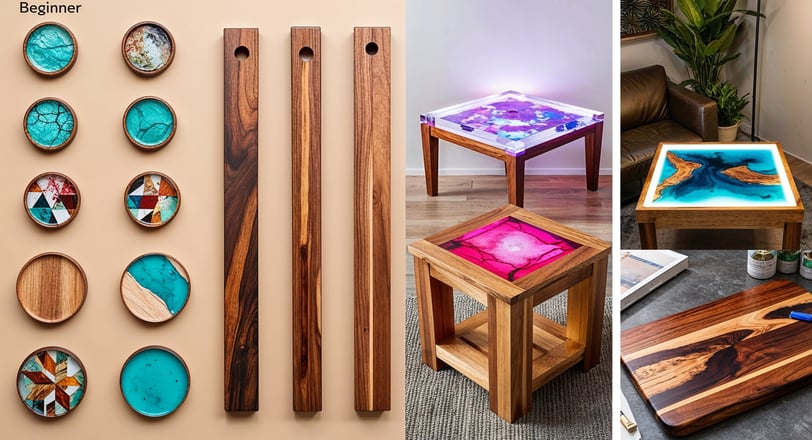
Beginner-Friendly Projects
1. Wood Coasters with Resin
Smooth wooden slices with sandpaper.
Apply a thin resin coat to seal the wood.
Add pigment or glitter to the resin mixture.
Pour resin into wood cracks and dips.
Let it dry and finish with a topcoat.
2. Basic Serving Tray
Sand a wooden board and highlight areas for depth.
Mix resin with metallic powder or inks.
Pour resin in layers, curing between each layer.
Smooth rough edges and apply a food-safe coating.
3. Decorative Wall Art
Use painter’s tape to create geometric designs.
Fill sections with different resin colors.
Add dried flowers or glitter between resin layers for a striking look.


Intermediate Projects
1. Resin and Wood Coffee Table
Use a live-edge wood slab for a unique effect.
Create a mold with melamine boards.
Pour colored resin into gaps for a river effect.
Sand and attach legs to finalize your table.
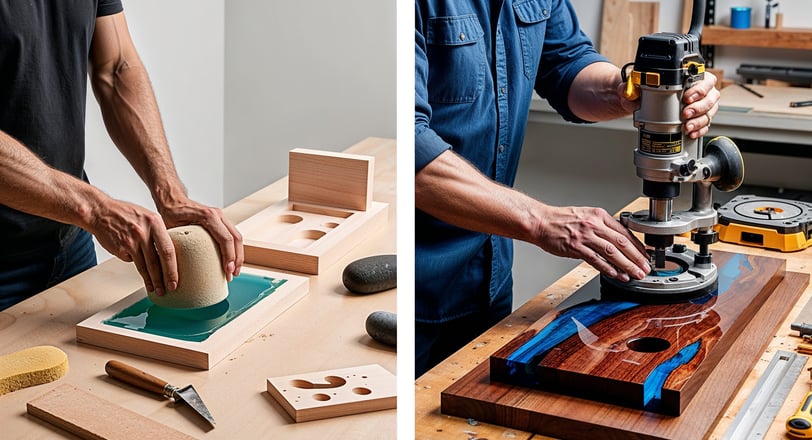
2. Wooden Serving Tray with Resin Inlay
Use a router to cut channels into the wood.
Fill channels with colored resin.
Sand and finish for a professional touch.
Advanced Statement Pieces
1. Resin River Table
Use two wood slabs to create a "river" gap.
Seal the wood to avoid bubbles.
Pour resin in thin layers, curing each layer before the next.
Add metal or wood supports to finalize the design.
2. Illuminated Wall Art
Slice wood thinly and design areas for resin.
Fill gaps with tinted resin.
Install LED strips for a stunning illuminated effect.
Seasonal Projects
1. Resin Holiday Ornaments
Cut shapes like stars or snowflakes from wood.
Sandwich wood pieces in clear resin with glitter or pigments.
Cure and attach hooks for hanging.
2. Year-Round Focus Pieces
Custom photo frames or seasonal serving trays.


Essential Materials and Tools for Resin and Wood Projects
Troubleshooting Common Issues
Bubbles: Use a heat gun to remove trapped air.
Yellowing: Choose UV-resistant resin and avoid sunlight.
Stickiness: Lightly sand and reapply resin.
Conclusion
Now that you’ve learned the tools, methods, and 25 DIY projects, you’re ready to unleash your creativity with resin and wood crafting! Whether it’s a simple tray or a complex resin-coated table, the possibilities are endless.
Take your time, practice, and enjoy experimenting with colors, textures, and patterns. Your stunning resin creations await—good luck, and don’t forget to share your work with us!


